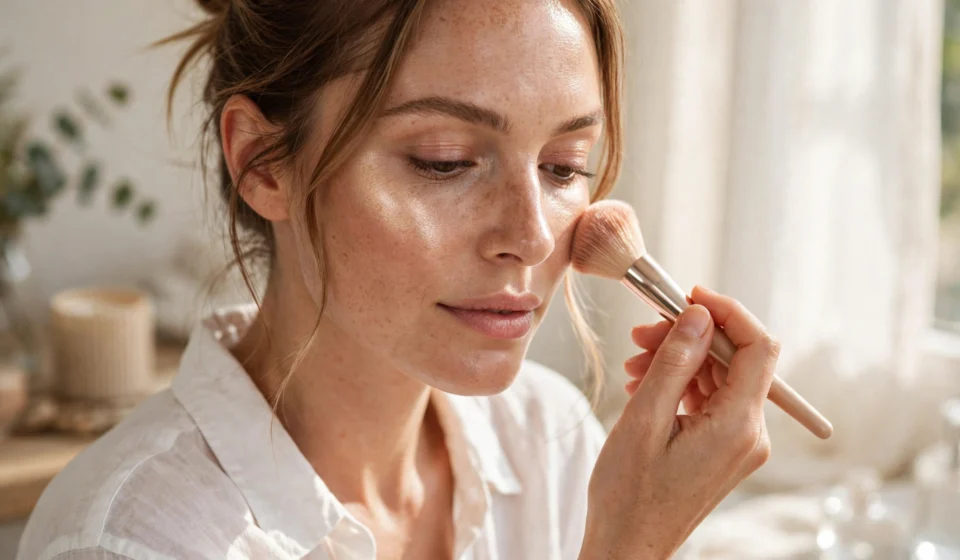

Highlighter is the fastest way to look awake and polished, but placement matters more than product price. Apply highlighter after foundation, concealer, blush and bronzer — it should be the last step for your complexion, before setting spray.
Start with cheekbones: sweep a small amount on the tops of your cheekbones and blend upward toward your temples. This lifts the face. Next, add a tiny amount to your brow bone, the inner corners of your eyes, a thin line down the bridge of your nose, and a dot on your Cupid’s bow. These are the high points where light naturally hits.
Choose your formula by skin type. Powder suits oily and combination skin and is easiest to control. Cream and liquid suit dry skin and give a dewy, skin-like glow. Sticks are best for quick touch-ups.
Less is more. Start with a tiny amount, blend with a fluffy brush, sponge or fingertip, and build slowly. Dab, do not rub — rubbing moves your base makeup and can make highlighter settle into pores. If you have visible texture, avoid heavy shimmer directly on that area.
For a 5-minute glow: skin tint, cream blush, highlighter on cheekbones and inner corners, mascara, and a tinted lip balm. Finish with a light setting spray. Check in natural light before you leave — indoor light can hide excess shimmer.


[…] your cut is shaped, finish the look with a glow: learn how to apply highlighter like a pro in 5 minutes. You can also explore more ideas on the DailyMakeupTip homepage for short haircuts for black women […]
[…] More from DailyMakeupTip: How to Apply Highlighter Like a Pro (Glow in 5 Minutes) […]
[…] How to Apply Highlighter Like a Pro: Glow in 5 Minutes […]